Wheelchair Accessible Maui: A Complete 7 Day Itinerary
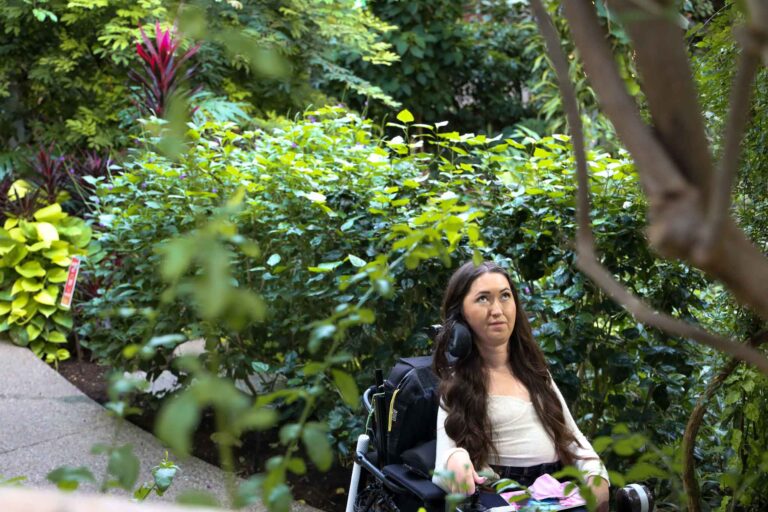
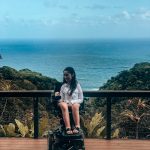
In January of this year I had the chance to go to one of my favourite vacation destinations as a wheelchair user — Maui, Hawai’i. I went there twice with my family when I was young, but this was my first time back in about 10 years … and let me tell you, it did not disappoint! Exploring the serene island, indulging in delicious food, and soaking up the beautiful weather made it a 10/10 vacation in my books. I can almost feel the warm ocean breeze just thinking about it.
Seriously, I would do anything to be back there right now!
The reason I love Maui so much is because it’s such a breathtakingly beautiful island, and it is incredibly accessible given that it is a part of the US, so it must abide by the accessibility guidelines set out by the Americans with Disabilities Act (ADA). I often find that when I visit islands in the Caribbean, their standards of “accessible” can be far different than mine. Not only that, but I’ve never really been an all-inclusive resort fan. If I’m going to travel, I want to see the world, not just my resort’s pool. I have found Maui to be the best of both worlds in this situation because I get to have an adventurous vacation while taking advantage of the tropical weather and beautiful beaches.
If you are planning a trip to Maui and are an adventure-seeker like me, here is a fully accessible itinerary you can follow to see all the beauty Maui has to offer.
Day 1 — Arrival
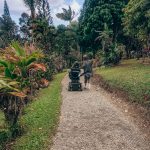
Your first day will likely consist of settling in and getting some rest after your long day of travel. The Maui airport is fairly small in comparison to major international airports here in Canada, so it should be fairly easy to navigate. Once you make your way through to baggage, you will need to get to your hotel or condo. You can either choose to book an accessible shuttle to your hotel or rent a wheelchair accessible vehicle, which is what I recommend doing. Maui does have accessible buses and shuttles that you can pre-book, but the island itself is fairly spread out and if you plan on exploring the island, you will want the freedom to travel on your own schedule. I chose to go with Wheelers, who provided us with a white Dodge Grand Caravan with a side entry conversion. It was perfect for our needs, and the best part is that they will deliver the van right to the airport or your hotel, so you don’t need to make your way to the car rental facility.
If your unit has a kitchen or a kitchenette, I would recommend taking a bit of time on this first day to do some grocery shopping. My family and I stopped at Costco to grab some snacks and breakfast / lunch foods that we could take on the road with us during our adventures. This not only saved us a ton of money in the long run, but it allowed us to hit the road earlier and not waste time sitting down for breakfast every day. Costco is conveniently located right by the airport so you can stop there on your way to your accommodations.
Day 2 — Road to Hana
If you’ve done any research on Maui already, you’ve undoubtedly heard of The Road to Hana. This is a 52-mile drive through the rain forest with lookouts, waterfalls, and hiking trails that are insanely spectacular. The day will be long, and the windy roads may leave you a little car sick, but if there’s one thing you need to check off your list in Maui, I promise you it will be this!
I suggest doing this day two as you need to hit the road early, and if you’re coming from anywhere on the east coast, you will be waking up early on day one anyway. Trust me when I say the day will easily take you 12 hours, especially if you have must-see stops on your list. I would suggest leaving your hotel around 6am to ensure you’re off the Road to Hana before sunset. The road was truthfully a lot windier and more dangerous than I was anticipating, so you will need an experienced and confident driver to do this trek. It’s certainly not something you want to be stuck doing in the dark.
Planning the journey to Hana is something I could easily write an entire blog post on, so if you choose to go, I suggest doing additional research beforehand. There is a wealth of information online which will give you tips and tricks about navigating the road, and whether or not this journey is for you. To keep things concise, I will simply list some wheelchair friendly stops I compiled before I went, since most of the popular stops you will come across on YouTube / travel blogs are not at all accessible. Please note I did not get a chance to personally stop at all of these, and all stops will have varying levels of accessibility, so I suggest using this list as a starting point / rough guide to building your own personal itinerary.
Accessible Stops on the Road to Hana
- Mile Marker 10 is the Maui garden of Eden, which has packed gravel trails. This is where the opening scene of Jurassic Park was famously shot. The lush botanical gardens are set on 26 acres, with trails, picnic spots, waterfalls and coastal views. In addition to the botanical garden, you can explore an enchanted forest and a bird feeding area. The garden is open daily from 8 a.m. to 4 p.m. There is an admission fee of $15 / person, but this stop was personally one of my favourites!
- Just past Mile Marker 12 on the Hana Highway you will find Kaumahina State Wayside Park. To the very left of the park, just beyond the parking lot, is a dirt path that (with minimal help) can be navigated by a wheelchair. The resulting views of the northeast Maui coastline are worth the effort.
- Mile marker 16.5 is the Ke’anae Peninsula. The turn is at the bend of a hair pin curve, so drive slowly so you don’t miss the turn. The paved drive down to this peninsula leads you to the ocean’s edge for amazing views of the Hana coast. It’s also worth noting that there’s a banana bread stand, Aunty Sandy’s, in Keanae that’s known for serving some of the best banana bread on the island. I did not personally get to visit this stop, but it came highly recommended by another wheelchair user.
- Wailua overlook: Just before the overlook on the right-hand side is a tiny parking lot with an awesome view of several waterfalls and the Haleakala crater. This is your last view of Wailua while heading into Hana. The pull off will be on the left-hand side of the road, about a 1/4 mile past the Wailua Valley State Wayside Park (which is little over half-mile past mile marker 18).The lookout provides a spectacular view of Wailua village.
- Mile marker 22 (Pua’a Kaa State Wayside Park) has an accessible trail. This mile marker offers a quick hike to a waterfall and freshwater pool, as well as bathrooms and a picnic area.
- Mile 29 is Nahiku Marketplace, a little village on the ocean where you can stop for lunch.
- The Town of Hana – after visiting this peaceful little town, I highly recommend turning around and beginning your journey back to your hotel. The roads get extremely rough after this and given that we were driving in a minivan, it was not worth risking. Nearly all of the mile-markers after Hana are also not accessible for wheelchair users (i.e. the Bamboo Forest, Seven Sacred Pools, etc.).

Before I did the Road to Hana, the #1 stop I wanted to make was at the Black Sand Beach (Wai’anapanapa state park). I had seen so many incredible photos of this beach on Instagram and although I knew it wouldn’t all be accessible, my research showed that I could at least get to the platform that overlooked the beach, which was good enough for me. What I didn’t read about, however, was how rough the road is leading to the beach. It was loosely packed gravel that was filled with massive potholes and large tree stumps that were impossible to navigate with our minivan. We attempted it briefly, and then just realized there was no way we could make it work without getting stuck or at least seriously scratching up the van. If you’re in a Jeep or truck, you could definitely make the journey down to the overlook. However, if you’re renting an adapted van, this unfortunately might be a stop you have to forgo.
The good news is there’s tons of other incredible stops, including the ones listed above, that are much easier to navigate. Take some time looking into what interests you and what meets your needs — the beauty of this is that everyone’s day driving the Road to Hana will be completely different. Don’t feel pressured to fit in everything just because that’s what others are doing. The day should be fun and enjoyable first and foremost!
Day 3 — Beach and Luau
You will likely be tired from your busy day on the Road to Hana, so I recommend taking day 3 as a beach day. For a wheelchair accessible beach experience, I would recommend heading over to Kaanapali Beach. Unfortunately, beach wheelchairs are not available here, but they do have an incredible 10-mile long boardwalk which is absolutely perfect for soaking in the ocean air without worrying about the sand. The entire length of the boardwalk is also home to a large number of hotels and restaurants, so you can enjoy a bite to eat if you want lunch or a little snack. Not only that, but if you feel like doing some shopping, walking to the very end of the boardwalk (towards Black Rock) will lead you into Whalers Village. This is a large outdoor shopping complex with stores and restaurants galore. My family and I really enjoyed roaming around here and getting a break from the water for a bit — plus, it never hurts to fit a little shopping in while you’re on vacation!

After your relaxing beach day, I would recommend hitting up a Luau. A luau is a traditional Hawaiian party or feast that is usually accompanied by entertainment and is definitely a staple “to-do” when visiting the islands. There are many Luau’s around Maui, so I’d recommend doing your research to find one that matches your preferences. For example, some are kid friendly, some are buffet style, and each one often ranges quite heavily in terms of price. If you’re staying at a resort, this is something that your concierge will definitely be able to help you plan.
We personally chose to go with the Feast at Lele, which is located in the town of Lahaina. I enjoyed this one as it was a set multi-course dinner featuring many traditional Polynesian dishes, so it had a fancier feel to it. It was also set up right on the beach, meaning the sunset views were absolutely breathtaking! With that being said, if you are a wheelchair user, please make sure you book numerous days in advance as there are only a limited number of tables on the brick vs. sand. Despite that, however, everything was completely accessible, the entertainment was phenomenal, and the food was delicious. It will definitely be a re-do for me the next time I’m back in Maui.
Day 4 — Iao Valley State Park and Maui Tropical Plantation
For day #4, I would recommend the Iao Valley State Park as well as the Maui Tropical Plantation. When I was planning this itinerary before my trip, this was probably the day I was least excited for, but to my surprise it ended up being one of my favourites!
We started the day with the Iao Valley State Park. This is a 10-mile-long park (4000-acre valley) with *some* paved accessible paths that wind through lush forests and scenic lookout points. I’m not going to lie, if you have a mobility device, you won’t be able to navigate a large majority of the park. You will only walk for about 10 minutes before you’re faced with stairs, but I personally found the views outstanding and didn’t even mind just sitting there soaking in all the beautiful scenery. It’s also a phenomenal spot for photos so if you’re looking to spice up your Instagram feed, I’d definitely recommend taking a stop here. Otherwise, this might be a destination you choose to skip.
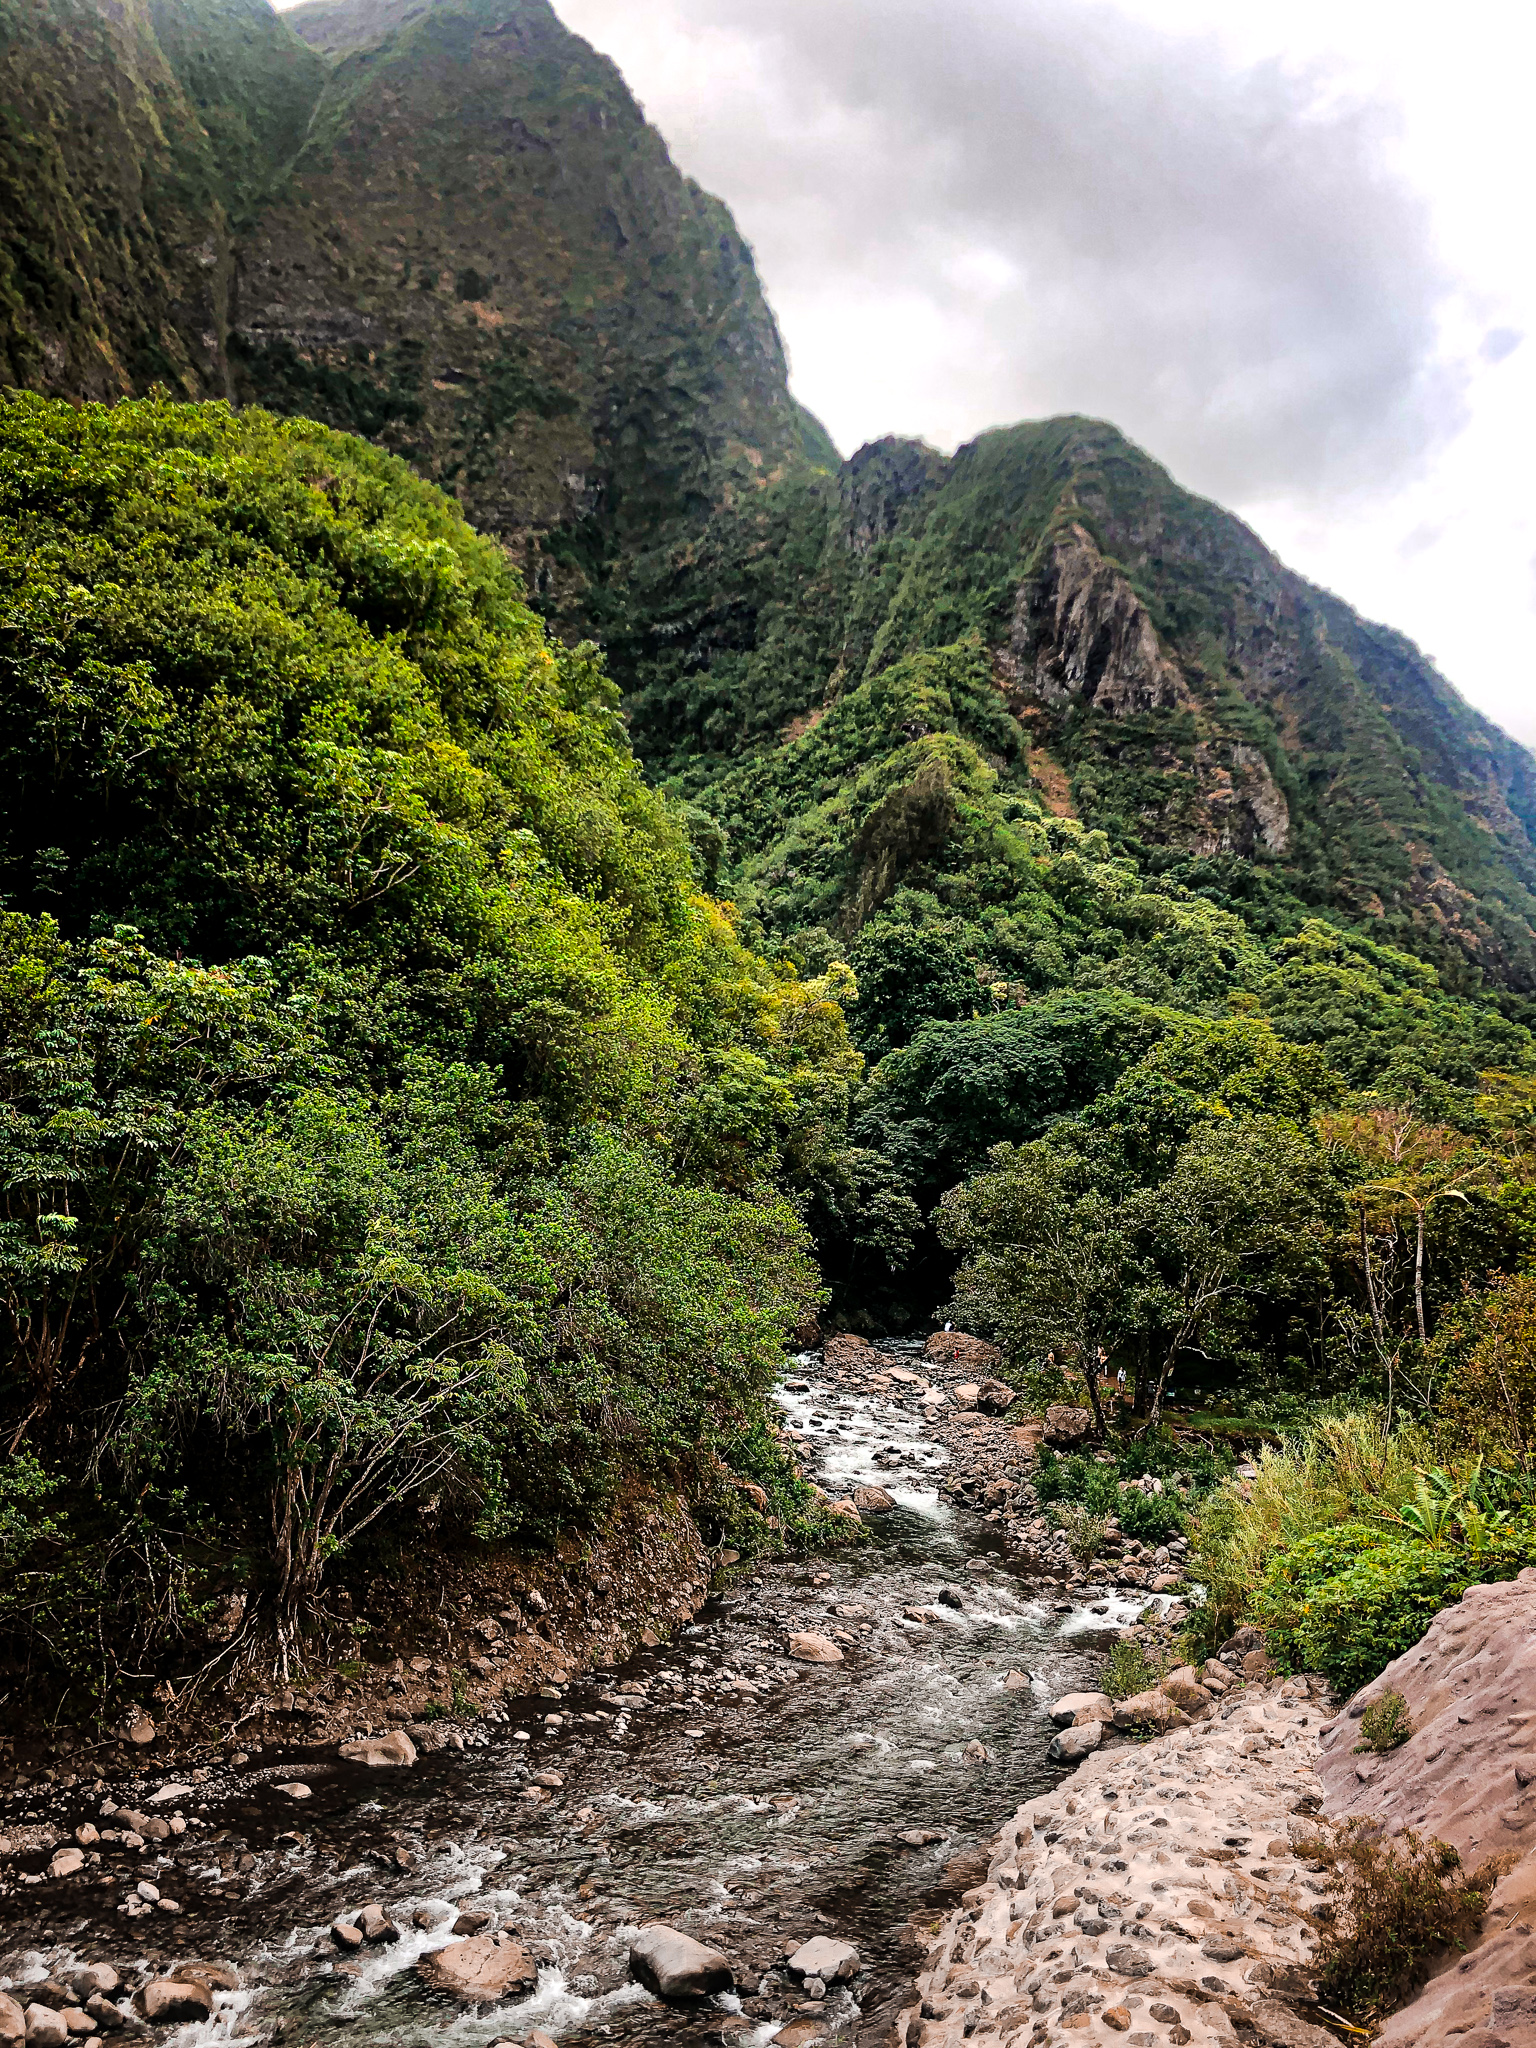 Beautiful views at the Iao Valley State Park
After spending about an hour at the Iao Valley State Park, we drove about 10-15 minutes to the Maui Tropical Plantation. This is a 60-acre working plantation that houses more than 40 crops and hundreds of native plants. You have the option to book a guided tram tour, although I did not get a chance to inquire if this was accessible as we decided to walk the grounds for free. The grounds are 100% paved so you can freely explore the beautiful gardens with ease. After that, we decided to grab a bite to eat at the Mill House restaurant, which is a 5-star rated restaurant that overlooks the plantation and the West Maui mountains. This was not only my favourite view from any restaurant I visited in a Maui, but the food was 10/10 as well. I would highly recommend driving into the plantation even if it’s just to dine here. I guarantee you will not be disappointed!
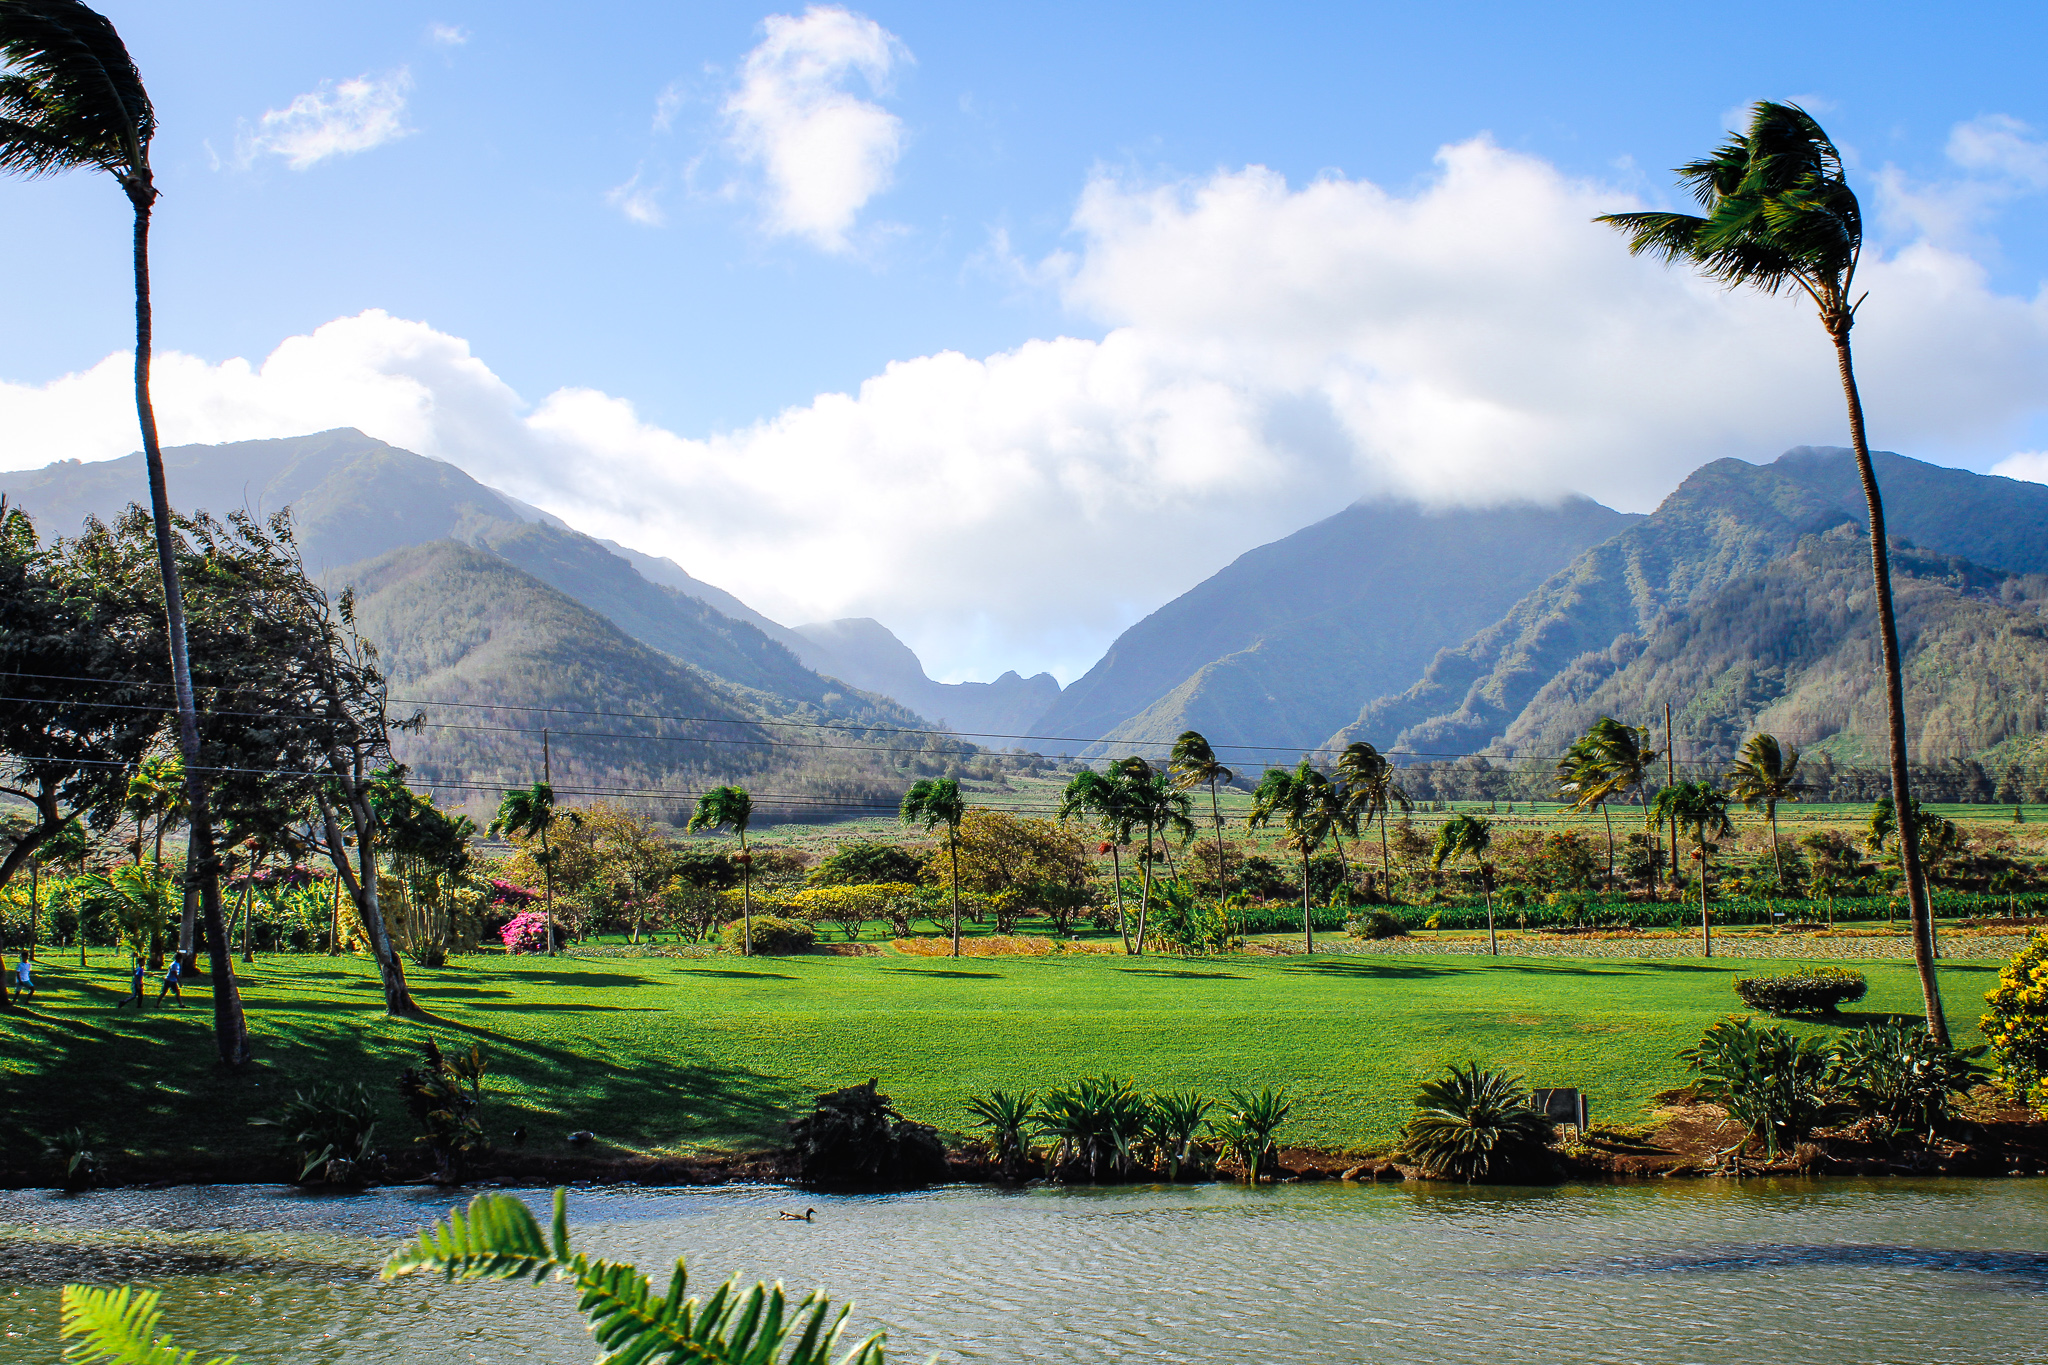 View from Mill House Resturant at the Maui Tropical Plantation
Day 5 — Whale Watching Tour
One activity that a lot of people want to check off their list in Maui is whale watching. Every year from about December to May, North Pacific Humpback whales come to the Hawaiian waters during their annual winter migration. It is such a spectacular phenomenon and if you’re on one of the islands during these months, it’s highly likely that you will spot a whale breaching at one point or another. While it is possible to see them while you’re relaxing at the beach, a lot of people like to go on whale watching tours so they’re more up close and personal with the action.
My family really wanted to do this, so we set out to find a wheelchair accessible tour. Nearly all of the boats we found did not have wheelchair access, and although staff seemed more than willing to help me get on board, I cannot sit unsupported on a good day (never mind on a moving boat with waves thrashing around!) so I had to find a tour that would enable me to stay in my own power wheelchair.
In all my searching, I only came across one, which was the Calypso. This is an incredible boat that had ramped access right into the inside. It has a spacious and accessible main floor that allows wheelchair users to sit inside or outside depending on their preferences.
The tour was about two hours long (from what I can recall) and featured a hilarious tour guide that kept the party going from start to finish. Although I did enjoy myself and was incredibly happy to have found an accessible whale watching adventure, it was not top of my list for a couple of reasons.
- In order to really see the whales, you need to be on an upper deck where you have a more panoramic view. If you cannot navigate stairs you will be forced to stay on the main deck.
- The windows on the inside were fairly small and there were tables in front of them, so it was a little challenging for me to be able to see out the windows.
- There are only two *very* tight areas on either side of the boat where you can sit outside. Since it’s so tight, you cannot get to the other side of the boat fast enough if a whale is spotted on the opposite side. I found myself switching sides every couple of minutes, but I undoubtedly missed a ton of sightings from being on the wrong side of the boat.
- Whenever a whale was spotted, the captain would quickly turn the front end of the boat in that direction so that folks on the upper deck could get a better view. Unfortunately, the front end of the boat is not visible to people on the lower deck since that is where the staircase / bar area is located. This meant the boat was always being turned away from the whales from my vantage point.
This is not to say that the whale watching tour isn’t worth your time. I absolutely had a great time and even the boat ride on its own was a fun adventure. Just note that you will certainly not see as many whales as folks who are able to maneuver to the upper decks. It was definitely something I wished I had been informed of ahead of time, so I could have made my decision to go accordingly.
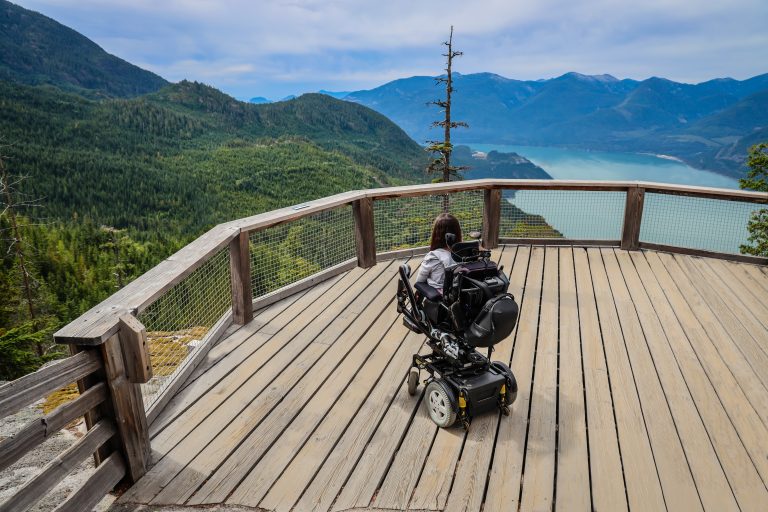
Day 6 — Haleakalā Volcano
On your final activity final day, consider checking out Mount Haleakalā, which is a massive shield volcano that forms more than 75% of the Hawaiian Island of Maui. Just like the Road to Hana, this is an incredibly popular destination in Maui, and you will therefore find a wealth of information online about planning your day trip here.
If you’re staying near Lahaina like I did, the drive to the top of the summit will take you about 2 hours. The most difficult and scenic part of the trip is the final stretch between Kula and the summit on Haleakala Highway, which has many hairpin turns (although not as bad as the Road to Hana in my opinion). A lot of visitors choose to go for sunrise as the views from the top are apparently spectacular, but we did not want to be driving up the summit in the dark. Personally, I was also exhausted by the end of my trip and decided the 3AM wakeup call was just not worth it in this case. I regret it a little bit (especially given it was quite foggy and cloudy by the afternoon when we got there), but at the time my bed was just a little more tempting.
 Enjoying the view at the top of Mount Haleakala
Before you get up to the top of the summit, your vehicle will need to pay an entrance fee of $25. During the afternoon you do not need a reservation to visit the top of the summit, but if you are going for sunrise you will need a permit to do so. Make sure you secure this in advance as they only let a limited number of vehicles up the summit for sunrise each day.
When you get to the top of the volcano, you will be at 10,023 ft elevation, which is above cloud level. If you have severe respiratory complications, this may make it difficult for you to breathe, so I suggest doing your research / talking to your doctor ahead of your journey here.
On your way down the summit, consider stopping at the Kula Lodge for a bite to eat. This is a super rustic, cabin-like restaurant that is cradled amongst the trees at 300 feet above the ocean, with floor-to-ceiling windows that overlook the entire west side of Maui. My family and I really enjoyed the friendly wait staff, the incredible home cooked food, and the overall ‘homey’ vibe this restaurant offered. It was such a nice change from the restaurants close to town and was a spectacular end to an outstanding trip.
Day 7 — Departure
That’s it; you’ve come to the end of an incredible trip. Departure day is always sad, but hopefully you made memories that will last a lifetime and you will be back again someday soon.
If you have tried any of these activities, or if you have suggestions that were not on this list, please let me know in the comments below. I would love to hear all about your time in paradise!
Until next time,
Tori